Is your home office a mess with piles of papers that make you feel stressed? 🤔
You’re not alone!
I used to toss all my paperwork into one box, only to spend hours searching for what I needed.
✨ In this guide, I’ll show you seven easy steps you can follow to better organize your household paperwork and reduce clutter. ✨
No matter how many papers you have, these simple tips will help you regain control and create a system that suits your needs.
Ready to take the first step toward your newly structured workspace? 💁♀️
Let’s get started!
Table of Contents
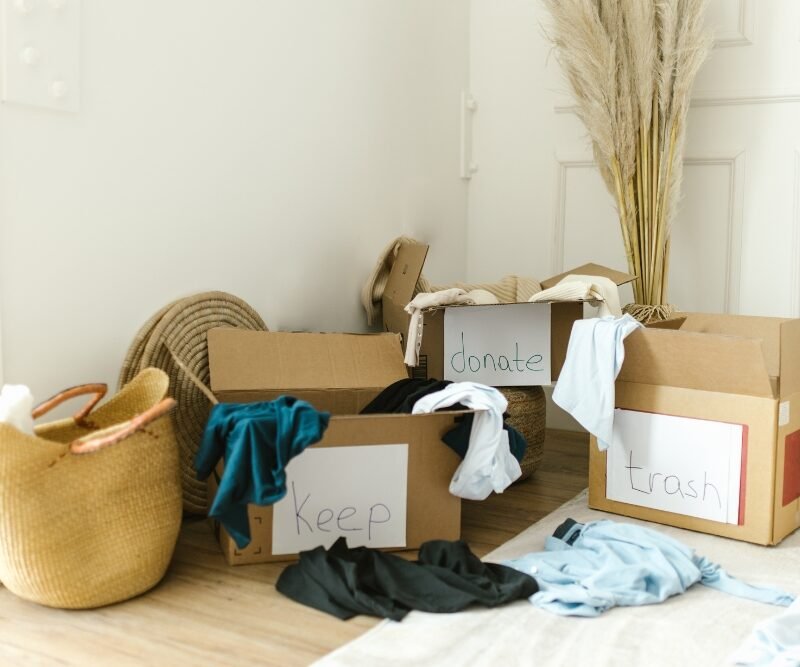
Step 1. Reduce Paper Clutter
Shred Unnecessary Papers
Firstly, you need to gather all the documents you have at home and want to arrange.
Prepare a trash bin next to you to throw away papers and bills you clearly don’t need.
Sensitive documents that are outdated and unnecessary go on and are shredded to protect your personal information. 💡
This will keep your paperwork clutter-free and your privacy safe.
You should detach from sentimental documents by letting them go if you wish to begin living a minimalist lifestyle.
Related: Master Minimalism with This Beginner’s Guide
Go Digital When Possible
Nowadays, going digital has many advantages; the main ones are:
- It is an eco-friendly way that helps us save more trees and produce less paper trash to utilize.
- It helps us eliminate paper from households, making our home less cluttered.
- Important documents will remain safe in the event of a fire.
- You can access your documents while on vacation and quickly send them via email if needed.
Minimizing physical paperwork is essential in this digital age. ✨
Make digital copies of all paperwork you can.
Scanned documents, such as contracts and receipts, can be safely stored in cloud storage services like Dropbox, Google Drive, or Evernote. 💻
In 2021, when I was buying an apartment in Krakow, I had to fill out a lot of paperwork. This included mortgage papers from the bank, a notary contract, a contract with the developer, and more. The piles of paperwork were overwhelming me. Those who have been through the mortgage application process can relate.
Because I scanned them all and put them in one folder on my computer, finding a particular document using the search bar (Ctrl + F) takes me no more than a few seconds.
Transitioning to digital has been a game-changer for me.
Furthermore, we are currently emailing a great deal of documents.
You can even access them while on vacation if you immediately convert them to digital format and store them on your device. 📱
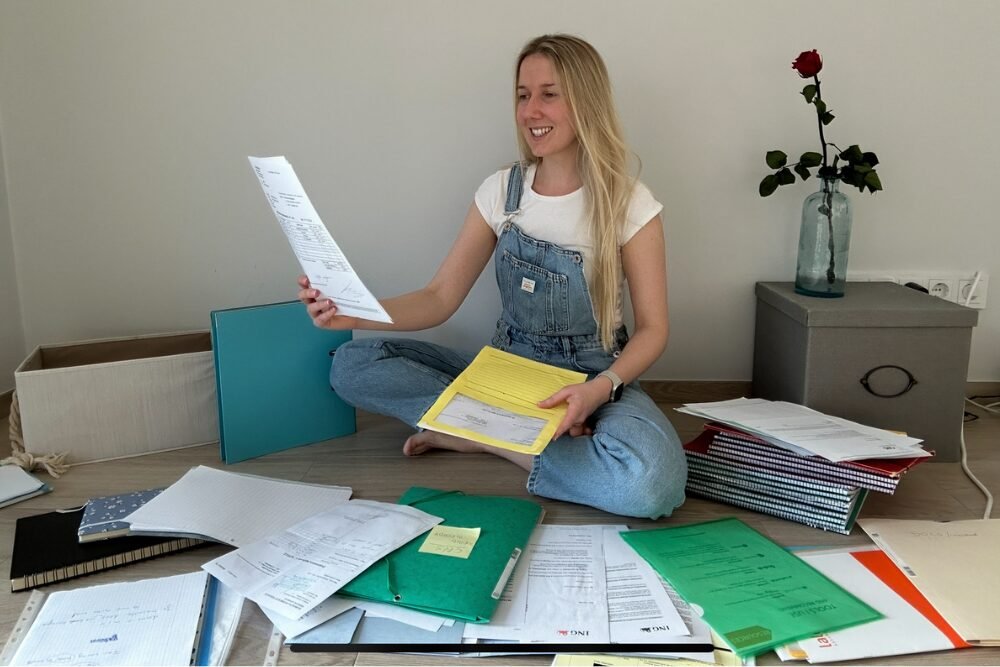
Step 2. Create a Filing System
Categorize
Once you get rid of unnecessary paperwork, it’s time to organize the remaining ones into the specific categories. ✨
This will help you navigate through your documents in the future.
If you will be searching for a mortgage loan contract you have with your bank, you will quickly find it under the ‘Legal’ or ‘House Mortgage’ file.
Common categories include:
- Financial (bills, bank statements, tax returns)
- Personal (birth certificates, certificates of registration)
- Medical (medical records, invoices from doctors, prescriptions)
- Household (warranties, home repair records, appliance manuals)
- Legal (contracts, loans, insurance policies, will)
- Travel (passports, visa paperwork, travel insurance)
Color-Coding
Assign a color to each category and use color-coded folders or labels to easily differentiate between them.
For example, blue for finances, pink for personal, green for travel, etc.
My favorite color is green, and I love traveling, so I used this color for this category to remind me of holidays, and it is easy to remember. 🌏✈️
Make Your Label Stand Out
To make finding certain documents easy and to prevent confusion, label each folder, binder, or envelope clearly.
I use a marker to give each folder a name; for instance, I wrote “House Mortgage” in capital letters to indicate where I keep my paperwork related to mortgage loans and notary acts.
Step 3. Use Folders or Binders
File Folders
Store papers in folders for each category. Use accordion folders or filing cabinets to keep these in order.
Binders
For documents that you reference often (like warranties or medical records), organize them in binders with tabs. Use plastic sheet protectors to keep documents safe.
Receipts
Store receipts in an envelope or small folder marked with the month or type (e.g., “Travel” or “Home Expenses”).
If you don’t have much space at home, use an Ikea box to store all named folders. It will help you to have all documents in one place.
Step 4. Set Up a Digital Filing System
Scan Important Documents
Use a document scanner or a phone app (like CamScanner) to digitize key paperwork.
If you have an iPhone, you can also scan your document by holding onto the app Notes—Scan Document—and you can save it as a PDF on your phone.
Cloud Storage
Upload digital copies of important documents to cloud storage platforms like Google Drive or Dropbox. Sort them into folders mirroring your physical filing system.
Do you have a go-to digital storage method, or are you just getting started?
Backups
Regularly back up your digital files to an external hard drive or cloud service to avoid losing important data.
Step 5. Store Important Papers Securely
Fireproof Safe
Keep original copies of critical documents (passports, birth certificates, legal paperwork, and insurance policies) in a fireproof safe for security.
In the event of a fire, your important documents will be safe.
If such an option is not possible, as mentioned above, you can go digital by scanning the important documents and storing them in cloud storage.
They will stay safe and always be handy.
Accessible Location
Particularly in case of travel or emergency, make sure that important documents are kept in a readily accessible place.
Step 6. Monthly Maintenance Routine
Review and File
Regularly review incoming paperwork, discard unnecessary items, and file the rest. Set a monthly reminder to do this.
This will keep your system organized and prevent things from getting out of hand.
When new letters come in, sort them into the correct folders right away or shred them if they are not important.
Recycle On a Regular Basis
Remove any unnecessary documents from your files at least once every six months. This includes things like outdated utility bills and tax records that are more than seven years old.
Step 7. Simplify Your Life with Applications
Expense Tracking Apps
To keep track of all your bills, spending, and tax information in one convenient place, try using an app like Mint or YNAB (You Need A Budget).
Document-Organizing Apps
You can arrange all of your household documents digitally with apps like Notion or Evernote and then set reminders for things like bill payments or when documents expire.
Emergency Document Kit
In the event of an emergency, it is wise to have copies of all necessary documents (such as your ID card, passport, driving license, insurance, and emergency contacts) in a small, easily transportable folder or envelope.
Wrap-Up on How to Organize Your Household Paperwork:
- Declutter household documents.
- Discard any papers that are not needed.
- Get your paperwork in order.
- Use folders or binders to sort papers by color.
- Scan your papers and save them digitally in the cloud.
- Protect important papers in a fireproof vault.
- Keep the system organized with monthly maintenance.
- For digital organization, use apps such as Evernote.
By following these seven simple steps, you’ll transform your document organization from a chaotic mess into a streamlined system. 💁♀️
The sense of relief that comes from an organized space is priceless!
If you want to not only declutter your paperwork but also your entire house, this guide will help you to do it in only 30 days.
Ready to tackle your paperwork? ✨


I love this guide! Very detailed and helpful 👌
Many thanks Tomasz! I’m so happy you found it useful 😊